Activation
After installing GenAI Studio and before starting to use it, there are two things that must be completed first to truly begin utilizing GenAI Studio's features:
- Initialize the system environment
- Acquire GenAI Studio licensing
Initialize System Environment
After GenAI Studio is successfully installed, the system does not have a default system administrator account; it needs to be created by the user during the first use. Open a browser and enter the GenAI Studio URL (listening on port 3001) to access the login page. At this time, you will find that what is displayed in the browser is not the login screen, but the system's welcome and startup screen.
Page - Welcome

Click Get Started to proceed to the next page.
Page - User Setup
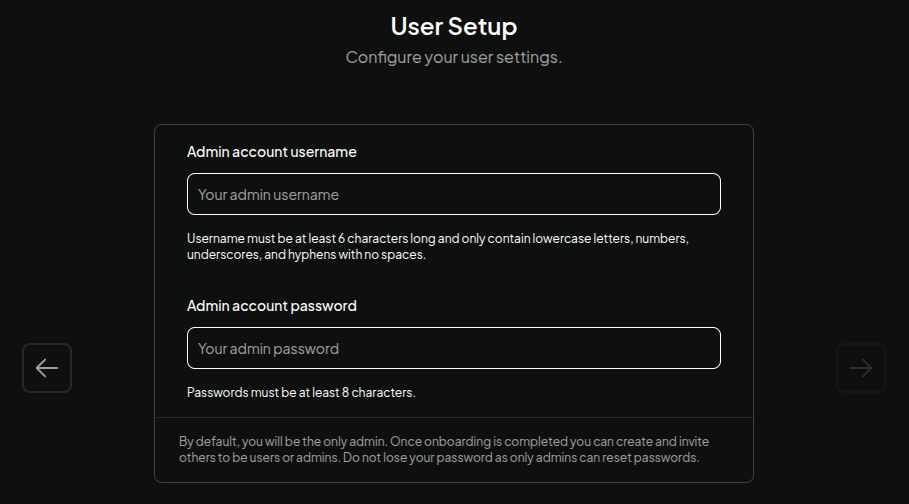
- Administrator Username: Enter the administrator account name for GenAI Studio.
- Administrator Password: Enter the password.
If the account name and password meet the system requirements, the → button on the right side of the screen will become clickable; click it to proceed to the next page.
Page - Data Handling & Privacy
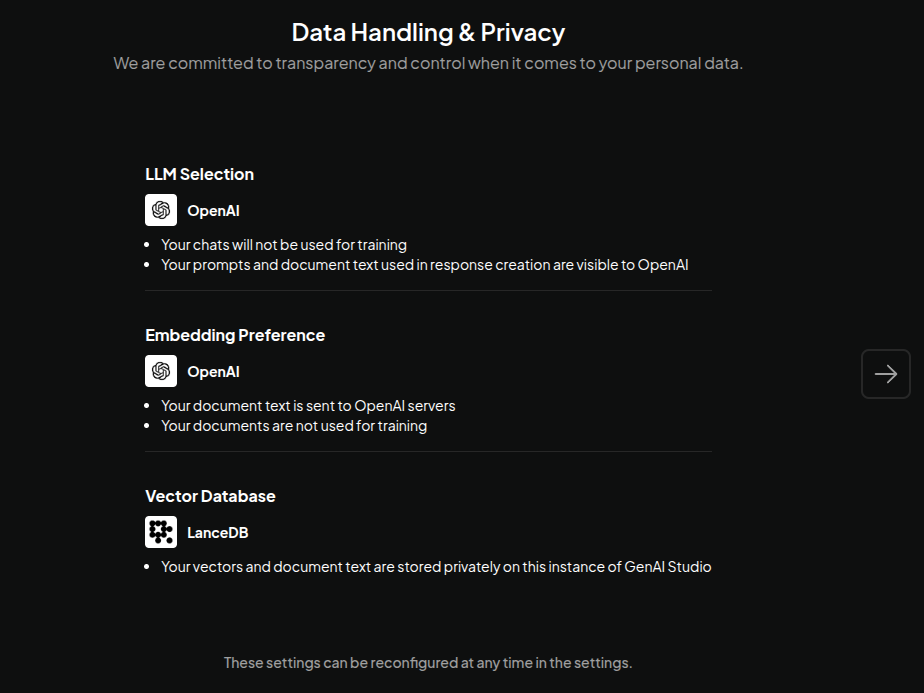
This step simply displays some system messages. No configuration is needed;
just directly click the → button on the right side of the screen to
proceed to the next page.
Page - Usage Survey
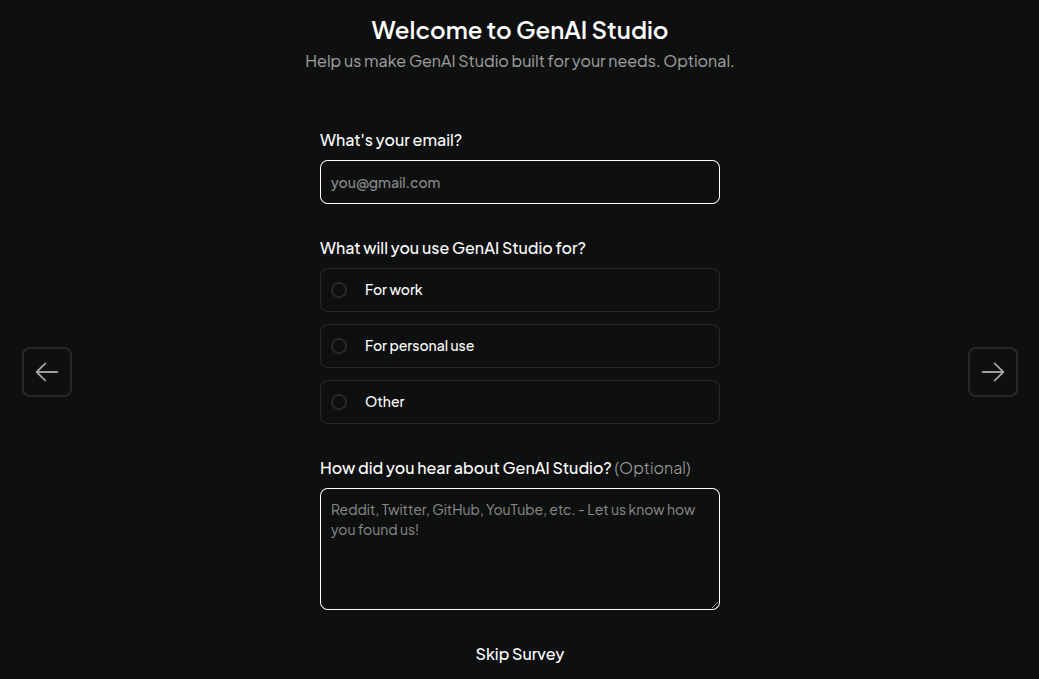
This step is a questionnaire page. Since GenAI Studio will not store or
transmit any information from this page, simply click the → button on
the right side of the screen or Skip Survey at the bottom of the page
to proceed to the next page.
Page - Create Workspace
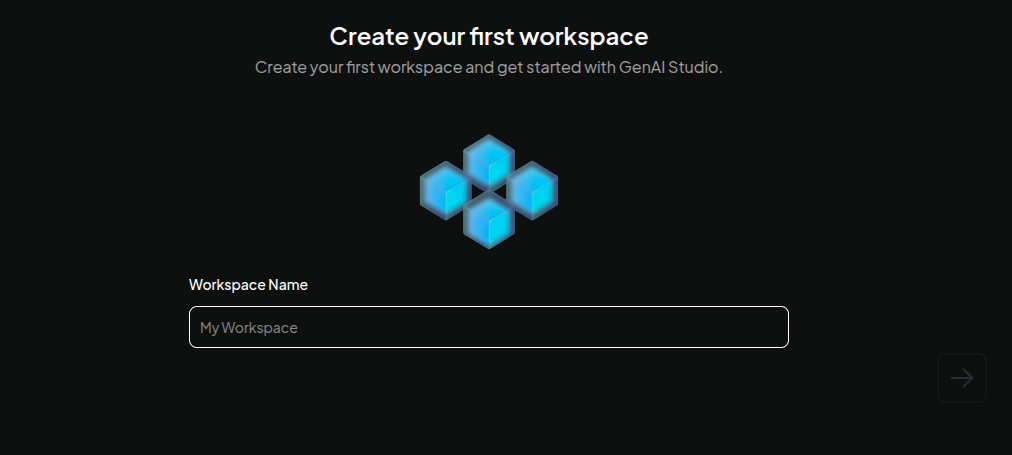
- Workspace Name: Enter the name for the first GenAI Studio workspace.
After entering it, click the → button on the right side of the screen to complete all initialization settings. After going through the above steps, you will enter the GenAI Studio landing page. Enjoy your GenAI Studio journey!
Acquire GenAI Studio License
If your GenAI Studio was not purchased separately, but shipped with the machine you bought when purchasing the host, this means the GenAI Studio installed on that host has already acquired a valid license. Please directly skip this section.
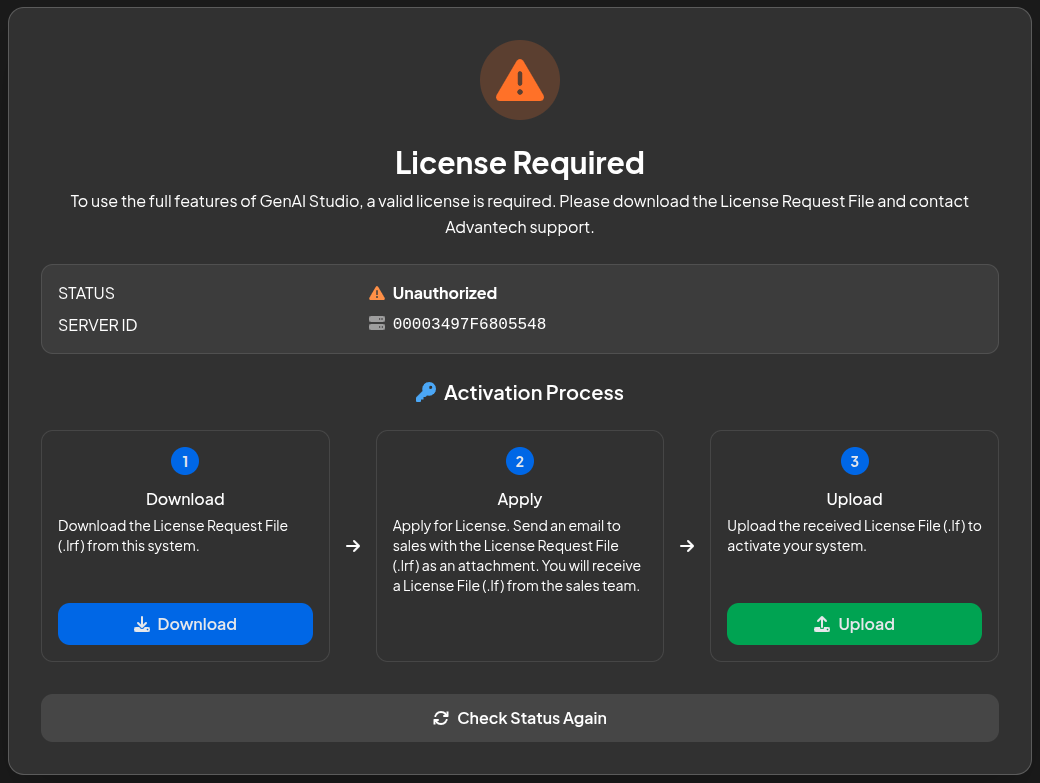
Yes, when you see this screen, it means the GenAI Studio installed on your host has not yet acquired a software license. The steps to acquire one are straightforward; just follow the three-step process shown in the image above to acquire a valid license.
Step 1 - Download
Click the Download button on card ① below to download the specific license
request file corresponding to the installation host. If unmodified, the
filename should be license_request.lrf.
The content of the license request file is calculated based on the hardware information of the installation host and is deeply bound to that host, so it cannot be used on another host. If you have a second GenAI Studio host, you must apply for it separately.
Step 2 - Apply
To apply for a software usage license from our company, send the file downloaded in Step 1 as an attachment to aide.support@advantech.com. In addition to the purpose (applying for a software license), please also include the following information in the email to save the application time:
- Customer Name: Your company name.
- Contact Name: The applicant's name.
- Contact Email: The applicant's email address.
- Contact Phone: The applicant's contact phone number.
- License Type: Which license type to request? Trial or Permanent.
The trial license is valid for 30 days only. After this period expires, you will no longer be able to use GenAI Studio. Therefore, you must either purchase a Permanent license or apply for a new Trial license to continue using the service.
Step 3 - Upload
After receiving the official software license file (with the .lf extension),
click the Upload button on card ③ at the bottom of this screen and select
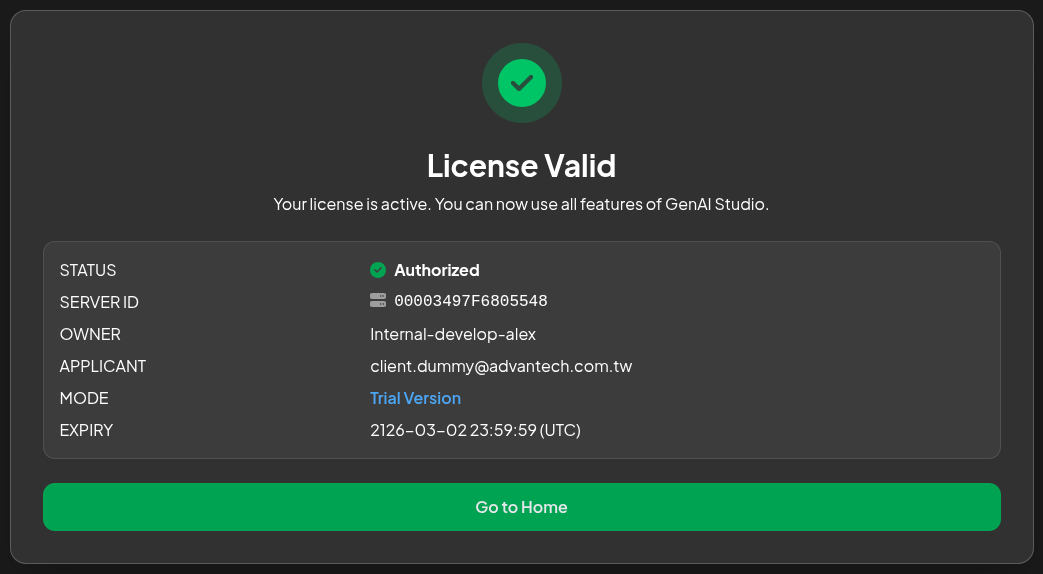
the location of the license file to import it. If everything is correct, the
License Valid page will appear, as shown below.